
We can't WAIT to try this one out :)
Super simple craft that would make a great gift too. Check out the full post HERE.
Here is what you need to create this fun craft:
- a plastic vinegar jug
- Sharpie Fine-Tip Permanent Markers
- rubbing alcohol
- spray varnish
- medicine dropper or pipette
- ribbon, twine or cording
- button
- scissors, hole punch
Cut out your bookmark:
To remove the label from the vinegar jug, I filled the jug with very hot water, and let it sit for 10 minutes. The heat from the water softens the glue, and the label peels off easily.
To make our bookmarks, I traced one of my own bookmarks on the plastic with a pencil, and used a pair of sharp scissors to cut it out. I repeated the process, getting 4 bookmarks out of one vinegar jug.
Color your bookmark:
Next, we colored our bookmarks. Using a variety of bright colors, cover your entire bookmark with your Sharpies. There’s no right or wrong way to do this. Just fill in the whole bookmark.

The Sharpie and rubbing alcohol tie-dye technique:
Fill a dropper/pipette with rubbing alcohol and drip small drops on to your bookmark. You can tap your dropper against your bookmark – that will deposit tiny amounts on to the plastic, or you can just drip the alcohol randomly over your art.
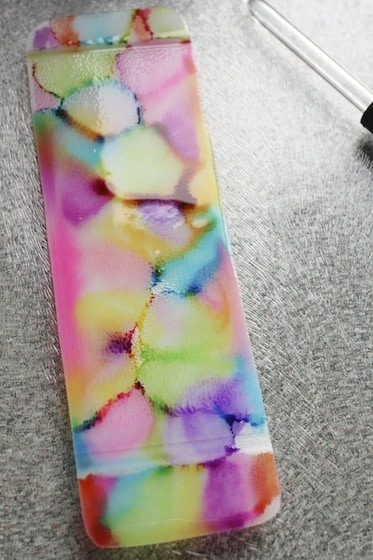
Then let it sit. Do not move the bookmark, or tip it, or all of your colors will run together. Just watch it, and you’ll see the colors start to blend and fuse together. It’s so magical and beautiful.
You can experiment with the amount of alcohol you use. If you’re not happy with the way things are going, you can swipe the bookmark clean and start again. A paper towel is good for this.
Setting the color:
To prevent your Sharpie art from rubbing off, you need to give it a shot of spray varnish. Do not brush on a liquid varnish as it will likely dissolve your art.
Lightly spray your bookmark with the varnish. If you use too much, it will activate the Sharpie ink like the alcohol did, and your colors will start to bleed again.
Allow your varnish to dry, and spray with a second coat if you like. You don’t have to be quite as careful with your second coat of varnish because your art has been protected by the first coat.
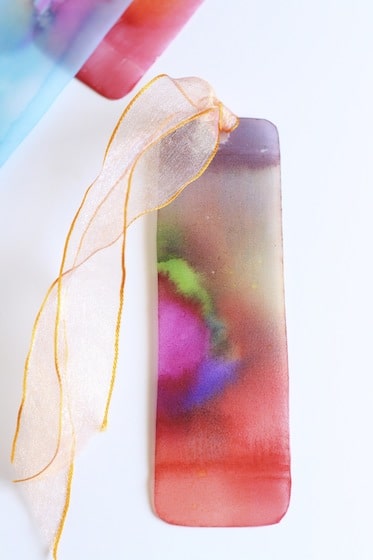
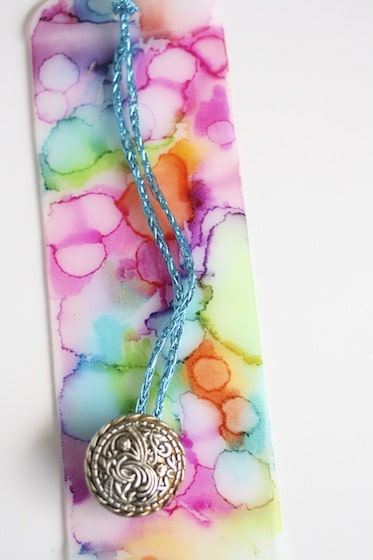
Once your varnish has dried, punch a hole in the top of your bookmark, thread a ribbon or some cording through, and if you like, embellish with a pretty button.
No comments:
Post a Comment