Showing posts with label Crafts. Show all posts

Friday, October 24, 2014

Beautiful Letter One Mom Wrote To Her Little Boy...

We found this lovely post on Huffington Post from a mother to her little boy. This message can be applied to so many different families, situations and environments. Let kids be kids! Some say that children are conditioned to gravitate toward certain gender cues and association, while this may be true, this mother will not stand for it. She wants her little boy to explore, experiment and do whatever it is that brings him joy! We love this message and what it supports.
See the full post HERE 
I have a little boy... 
A little boy who likes to wear tutus. A little boy who likes to dance. A little boy who loves to paint and a little boy who hums happy tunes all day long.
A comment came. 
A comment too riddled with prejudice for me to repeat. A warning to me to be careful. A warning to not encourage such things or I'll regret it later.
And so to this person I say nothing. For my words to her will change nothing. But to my little boy I say this, for my words can change everything.
I say dance. And not just hip-hop dancing -- wear that blue tutu that you love and twirl and twirl.
I say wear whatever clothes you want. Wear blue because you like blue, not because it's a boys' color. And if you like pink, well, wear pink. And if you want to wear your sister's dress, then heck, go ahead and do that too.
What's that? Well of course you can wear fairy wings. Oh, and a firefighter's hat too? Sure. And you know what? I'll wear one too. And we'll all head out for a walk, dressed in our glad rags, laughing and giggling.
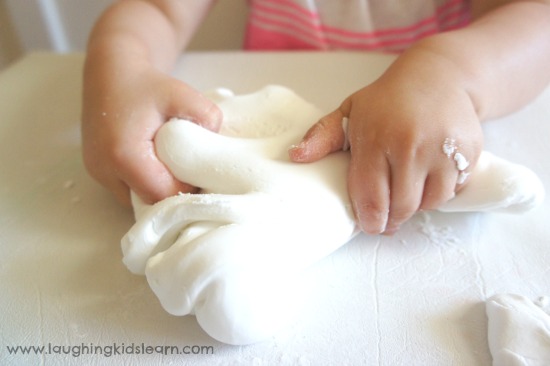
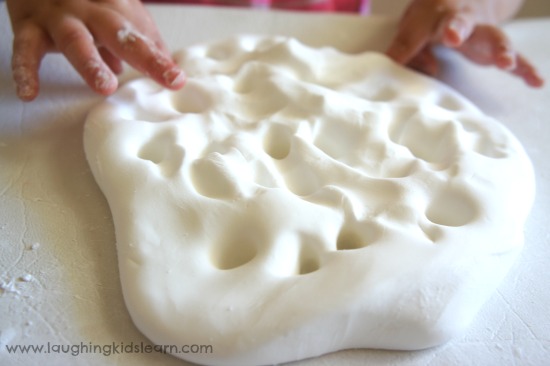
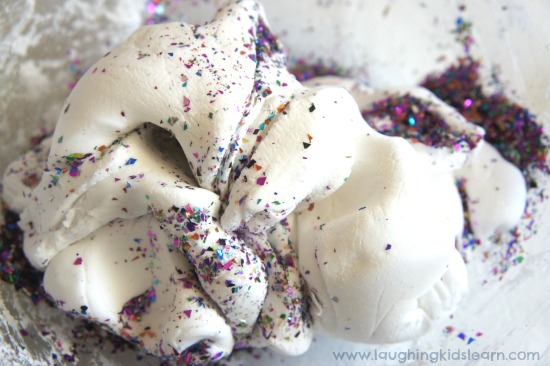
Shall we play with clay today, Mommy? Sure. Shall we add some sparkly beads? Sure. And why not? Are pretty things that sparkle only to be enjoyed by girls?
Do you want to play soccer, Mommy? Sure do, buddy. But let's play it because it brings you joy, not because it's a boys' sport. And maybe after we finish we can go inside and finish that tea party we were playing this morning?
I have a little boy. 
He is a boy. He is a child. He likes to play. He builds blocks and plays house. He plays soccer and dances on tippy-toes. 
He really couldn't care less if he uses a pink toothbrush or a blue one. And neither could I.
And neither should you.
I have a little boy.

Wednesday, October 22, 2014

Tie Dye Technique With SHARPIES?!

We can't WAIT to try this one out :)
Super simple craft that would make a great gift too. Check out the full post HERE
Here is what you need to create this fun craft:
  • a plastic vinegar jug
  • Sharpie Fine-Tip Permanent Markers
  • rubbing alcohol
  • spray varnish
  • medicine dropper or pipette
  • ribbon, twine or cording
  • button
  • scissors, hole punch 

Cut out your bookmark:

To remove the label from the vinegar jug, I filled the jug with very hot water, and let it sit for 10 minutes.  The heat from the water softens the glue, and the label peels off easily.
To make our bookmarks, I traced one of my own bookmarks on the plastic with a pencil, and used a pair of sharp scissors to cut it out. I repeated the process, getting 4 bookmarks out of one vinegar jug.

Color your bookmark:

Next, we colored our bookmarks.  Using a variety of bright colors, cover your entire bookmark with your Sharpies.  There’s no right or wrong way to do this.  Just fill in the whole bookmark.

The Sharpie and rubbing alcohol tie-dye technique:

Fill a dropper/pipette with rubbing alcohol and drip small drops on to your bookmark.  You can tap your dropper against your bookmark – that will deposit tiny amounts  on to the plastic, or you can just drip the alcohol randomly over your art.
Then let it sit.  Do not move the bookmark, or tip it, or all of your colors will run together.  Just watch it, and you’ll see the colors start to blend and fuse together.  It’s so magical and beautiful.
You can experiment with the amount of alcohol you use.  If you’re not happy with the way things are going, you can swipe the bookmark clean and start again.  A paper towel is good for this.

Setting the color:

To prevent your Sharpie art from rubbing off, you need to give it a shot of spray varnish.  Do not brush on a liquid varnish as it will likely dissolve your art.
Lightly spray your bookmark with the varnish.  If you use too much, it will activate the Sharpie ink like the alcohol did, and your colors will start to bleed again.
Allow your varnish to dry, and spray with a second coat if you like.  You don’t have to be quite as careful with your second coat of varnish because your art has been protected by the first coat.
Once your varnish has dried, punch a hole in the top of your bookmark, thread a ribbon or some cording through, and if you like, embellish with a pretty button.

Friday, October 17, 2014

Halloween Crafts for Kids!

I just found this website with a TON of fun Halloween craft ideas for kids! Check them out :) 
Bat Crafts
Bat Crafts (10 crafts)
Cat Crafts
Cat Crafts (6 crafts)
Ghost Crafts
Ghost Crafts (13 crafts) Lots NEW!
Jack o' Lantern Crafts
Jack o' Lantern Crafts (21 crafts) Lots NEW!
Monster Crafts
Monster Crafts (15 crafts)
Skeleton Crafts
Skeleton Crafts (9 crafts)
Spider Crafts
Spider Crafts (8 crafts)
Witch Crafts
Witch Crafts (11 crafts)

Wednesday, September 24, 2014

Creative Crafts With Cardboard Tubes!

We all know they are everywhere! So, why not make a creative use out of them? Parents are always looking to use regular household products to create inexpensive, fun and entertaining projects for their children. Thanks to our good friends over at Happy Hooligans we have found this list of 22 ways to use these otherwise disposable products! 

22 Things to Make with Cardboard Tubes:

Click on the highlighted descriptions to see a full tutorial for each craft or activity.

fall crafts with cardboard rollsFall Decorations with Cardboard Tubes:

Use a cool paint process to make some fall napkin rings.
Make a turkey table topper for your Thanksgiving table.
Round up some fabric scraps and a few crafty odds and ends for some adorable toilet roll owls.

halloween crafts with cardboard tubesCrafting for Halloween:

The kids will love making a quirky monster mobile out of cardboard rolls.
spooky crow or owl is a very fitting decoration for Halloween.
Our toilet roll mummies help little ones develop their winding and wrapping skills.

toilet roll snowmenWinter Toilet Roll Crafts:

These cardboard roll snowmen are just the cutest little things, aren’t they?

cardboard roll nativity scene
The hooligans LOVE playing with our toilet roll Nativity set.

Christmas crafts toilet rollsCardboard Roll Christmas Crafts:

Fleece, batting and a cardboard roll makes an adorable Santa Claus.
Make a set of cute reindeer ornaments for your Christmas tree.
toilet roll ornament
This snowman ornament would be great for the tree or as a gift topper.

Spring Crafts with cardboard rollsSpring Crafts:

Summons up some April showers with a colourful rain stick.
These Easter chicks in paper nests are just too sweet.
Peeps!  Everyone loves Easter peeps, right?
And don’t forget about the Easter bunnies!  Check out our paint chip bunting too!

Toilet roll cuffs and cardboard roll braceletsBracelets and Cuffs:

Make some simple toilet roll cuff bracelets.
Anklets can be made using cardboard rolls and colourful duct tape.

DIY activities with cardboard tubesSkill Building Activities:

Make some cool 3-D structures with tubes and a low-temp glue gun.
Toddlers love to drop things through our cardboard Drop Zone.

cardboard roll painting and torchArts and Crafts:

Create a unique piece of art for a kid’s room, toy room or classroom.
Turn a long cardboard tube into a torch.

Bubble blower and paper dolls made with toilet roll tubesCardboard Tubes for Play:

In a pinch, a sturdy kitchen roll, makes an excellent bubble wand.
Make a set of simple “stand up” paper dolls.
Well?  What do you think?  Did we inspire you?  Now, it’s your turn to inspire me!  If you have a favourite cardboard roll craft or activity, I’d love to hear about it!
Now, I’ll bet you’re wondering how you can re-use all those Keurig K-cups you have stashed too!  Don’t worry!  We’ve got you covered: 25 Ways to Re-use Your K-cup pods.

Wednesday, August 20, 2014

Soft, Stretchy Play Dough With Only 2 Ingredients!

Some of my favorite crafts as a child were painting, baking and PLAY DOUGH! Holy moly this stuff never gets old. I stumbled upon this recipe earlier this week thanks to Laughing Kids Learn and I am about to go run to the grocery store to try it out! This looks like the easiest, simplest (and yummy smelling) play dough recipe I have ever seen! I would recommend this for ages 2 and up and always with an adult watchful eye. I love crafts that can be done simply by using ingredients we already have in the house! Talk about convenience! 
All you need is:
  • 1 cup cheap-0 conditioner (any brand works!) 
  • 2  cups cornflour/cornstarch
  • Make it colorful with food coloring or glitter! (optional)
Just grab a big mixing bowl and add the cornstarch to the conditioner. You may need to tweak the recipe depending on the brands used, but just keep adding until you get the desired consistency. 
And voila!! You have just created the silkiest, softest and stretchiest play dough ever! Congrats :) 


Monday, May 5, 2014

Happy Cinco de Mayo!!


Today we celebrate Mexican heritage and pride.  Cinco de Mayo is a day to commemorate the cause of freedom and democracy during the American Civil War.

Not only is Cinco de Mayo a significant day in history, but it is also a day to spend time with family and enjoy this lovely summer weather!

We found the cutest craft to do with your kids and can actually be transformed to fit any holiday!  Take a look at these easy to make, festive shakers thanks to "First Palette" :)

All you need is:
  • 2 small paper cups (or 1 food canister, e.g. Pringles)
  • Rice, beans, jingle bells or small coins
  • Crepe paper
  • Acrylic paint
  • Paint brush
  • Glue gun
  • Glue stick
  • Masking tape
  • Scissors
Step #1: Fill one cup half-way with beans or rice (get crazy and try jingle bells, legos, marbles...anything to make different sounds) 


Step #2: Use hot glue gun to join the 2 paper cups along their lip. If you used a food canister, you can fix its lid permanently in place with a hot glue gun.


Step #3: Paint the entire container with white acrylic paint. White acrylic paint serves as the primer - it covers any prints on the container and prepares it for the final color of paint.


Step #4:  Paint on your shaker with colored acrylic paint or poster paint. You can go with simple stripes, spots or even do one solid color. You can always add stickers, glitter glue or paper cut-outs when the paint dries. This particular shaker is intended to be a 4th of July project.


Step #5: Cut and glue crepe paper strips at the top or both on the top and bottom of your shaker.


Step #6: ENJOY!!

More information can be found at:
http://www.firstpalette.com/Craft_themes/Music/papercupshakers/papercupshakers.html


Hope everyone has an amazing Monday and Cinco de Mayo!! 

Thursday, May 1, 2014

COOL Summer Project!

HOW COOL IS THIS?!  What an awesome summer activity to do with the kiddos!  Thanks to "Shared & Remembered".  And it's so easy...
Just add water to ice cube trays and mix in some fun food coloring colors.  Freeze overnight and VOILA!
Take those goodies outside with some butcher paper, or even better, fabric, and you have created a cheap, easy, cool and engaging activity for your kids!


Let us know any ideas you have to keep the kids cool for summer! 


SHARE THIS

Bookmark and Share